[Maya學習筆記]第三課:用Maya做星球
目標三:製作星球表面的貼圖
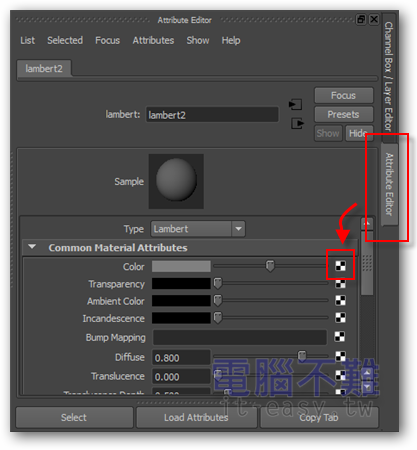
第1步 在Hypershade視窗中,選取剛才新增的Lambert材質球,按下快速鍵「Ctrl+a」,開啟「Attribute Editor」,新增Color(顏色)的節點。
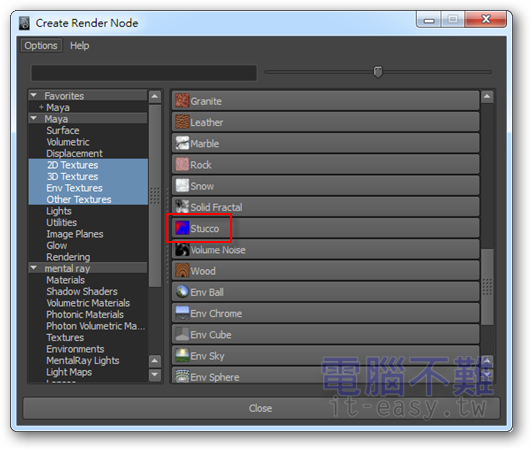
第2步 在Create Render Node視窗中,選擇「Stucco」(粉刷)。
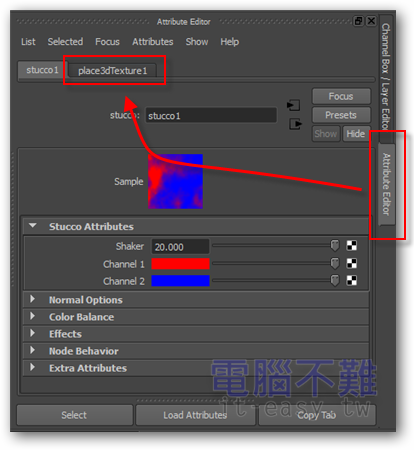
第3步 來到Stucco的Attribute Editor畫面,點選「place3dTexture」標籤。
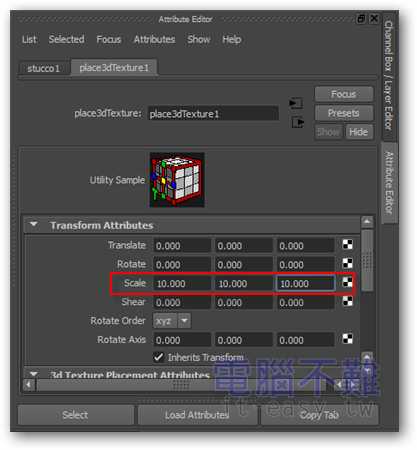
第4步 將Scale(比例)的X、Y、Z值均設為10。
第5步 回到「stucco」標籤,新增Channel 1的節點。
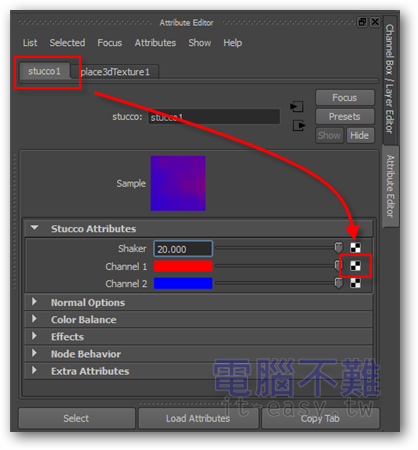
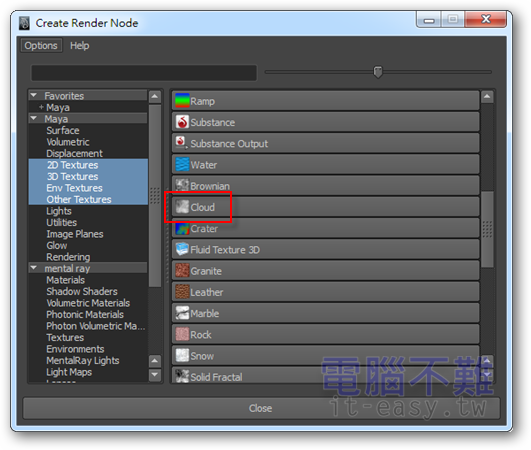
第6步 在Create Render Node視窗中,選擇「Cloud」(雲)。用來製作星球的陸地。
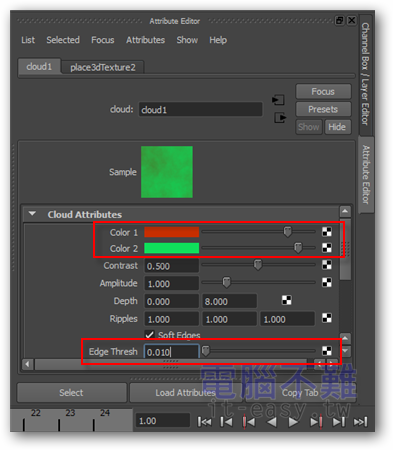
第7步 來到Cloud的Attribute Editor畫面,修改Color 1為棕色、Color 2為綠色。當然想自行換顏色也可以,不一定要跟我一樣。接著再把Edge Thresh的值設為「0.010」。
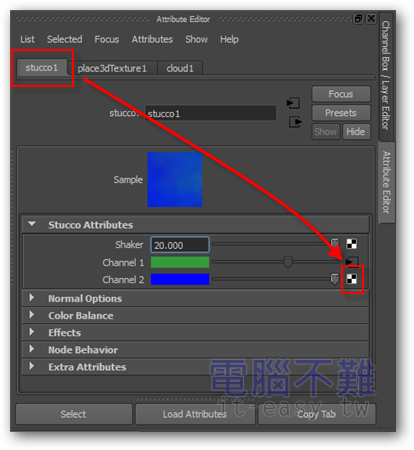
第8步 回到stucco的Attribute Editor畫面,新增Channel 2的節點。
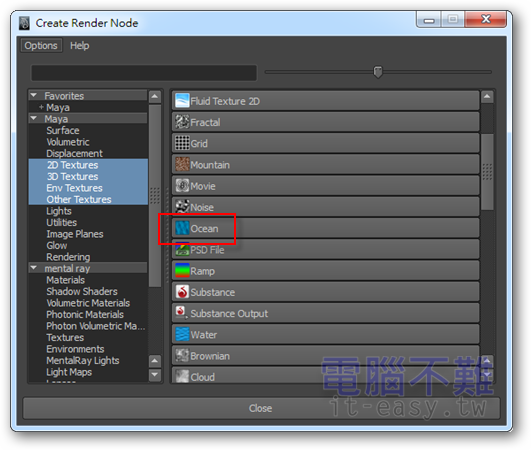
第9步 在Create Render Node視窗中,選擇「Ocean」(海洋)。用來製作星球的海洋。
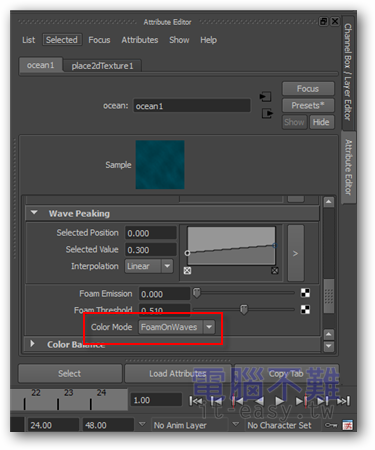
第10步 來到Ocean的Attribute Editor畫面,修改「Color Mode」(顏色模式)屬性為「FoamOnWaves」。
第11步 回到stucco的Attribute Editor畫面,檢查設定是否完成。
